Not every creator contributes at the same level. Creator tiers let you pay groups of creators different rates, so you can reward the creators who drive the most sales and give everyone else something to grow toward. A creator is in one tier at a time. To group creators without changing what they earn, use tags.
Prefer to watch? Here is the tutorial video.
Before you start
Section titled “Before you start”To create, edit, or delete tiers, you need the Admin role for the program. Creator Managers can move creators between tiers on the Creators page.
You can set up tiers before creator codes are live in your game.
Create a tier
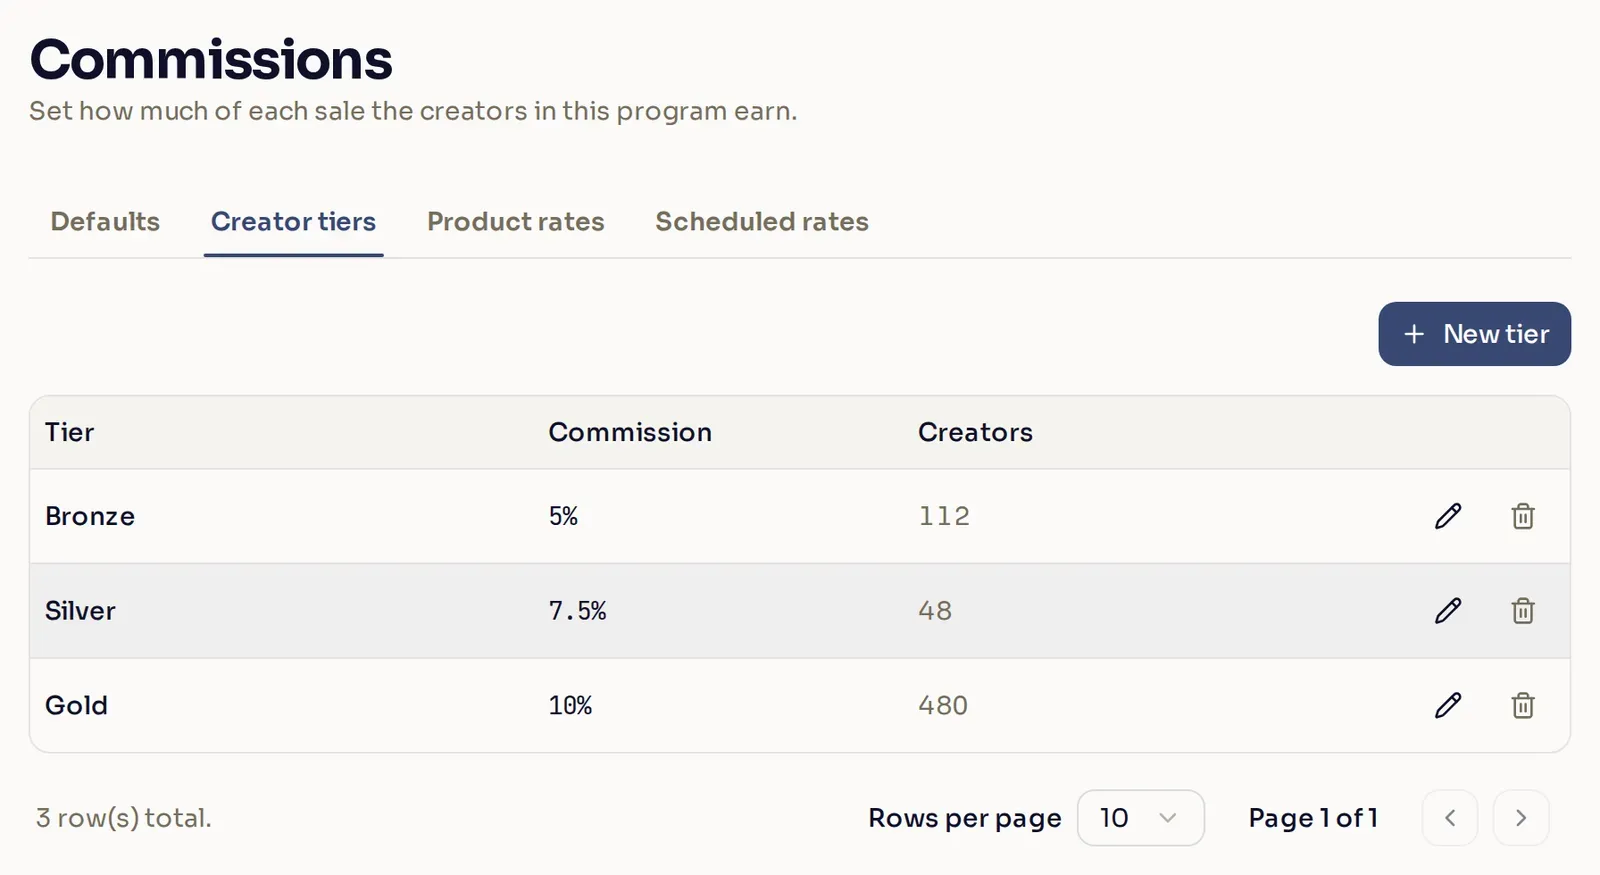
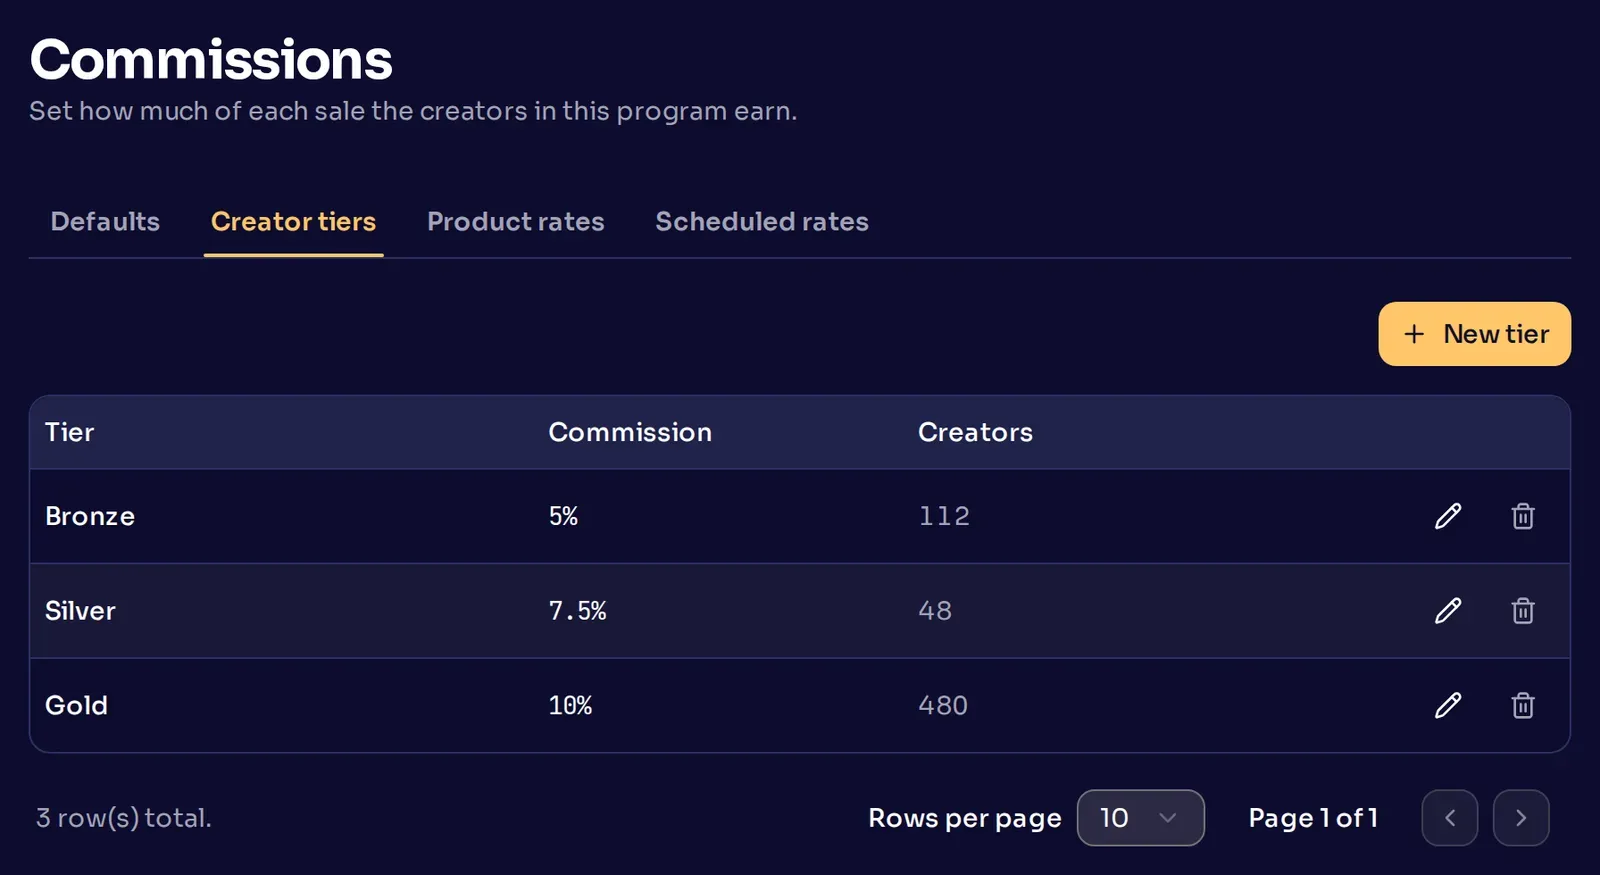
Section titled “Create a tier”In the sidebar, under your program, select Commissions (Revenue Shares in a revenue-share program), then the Creator tiers tab. It lists each tier with its rate and how many approved creators are in it.
-
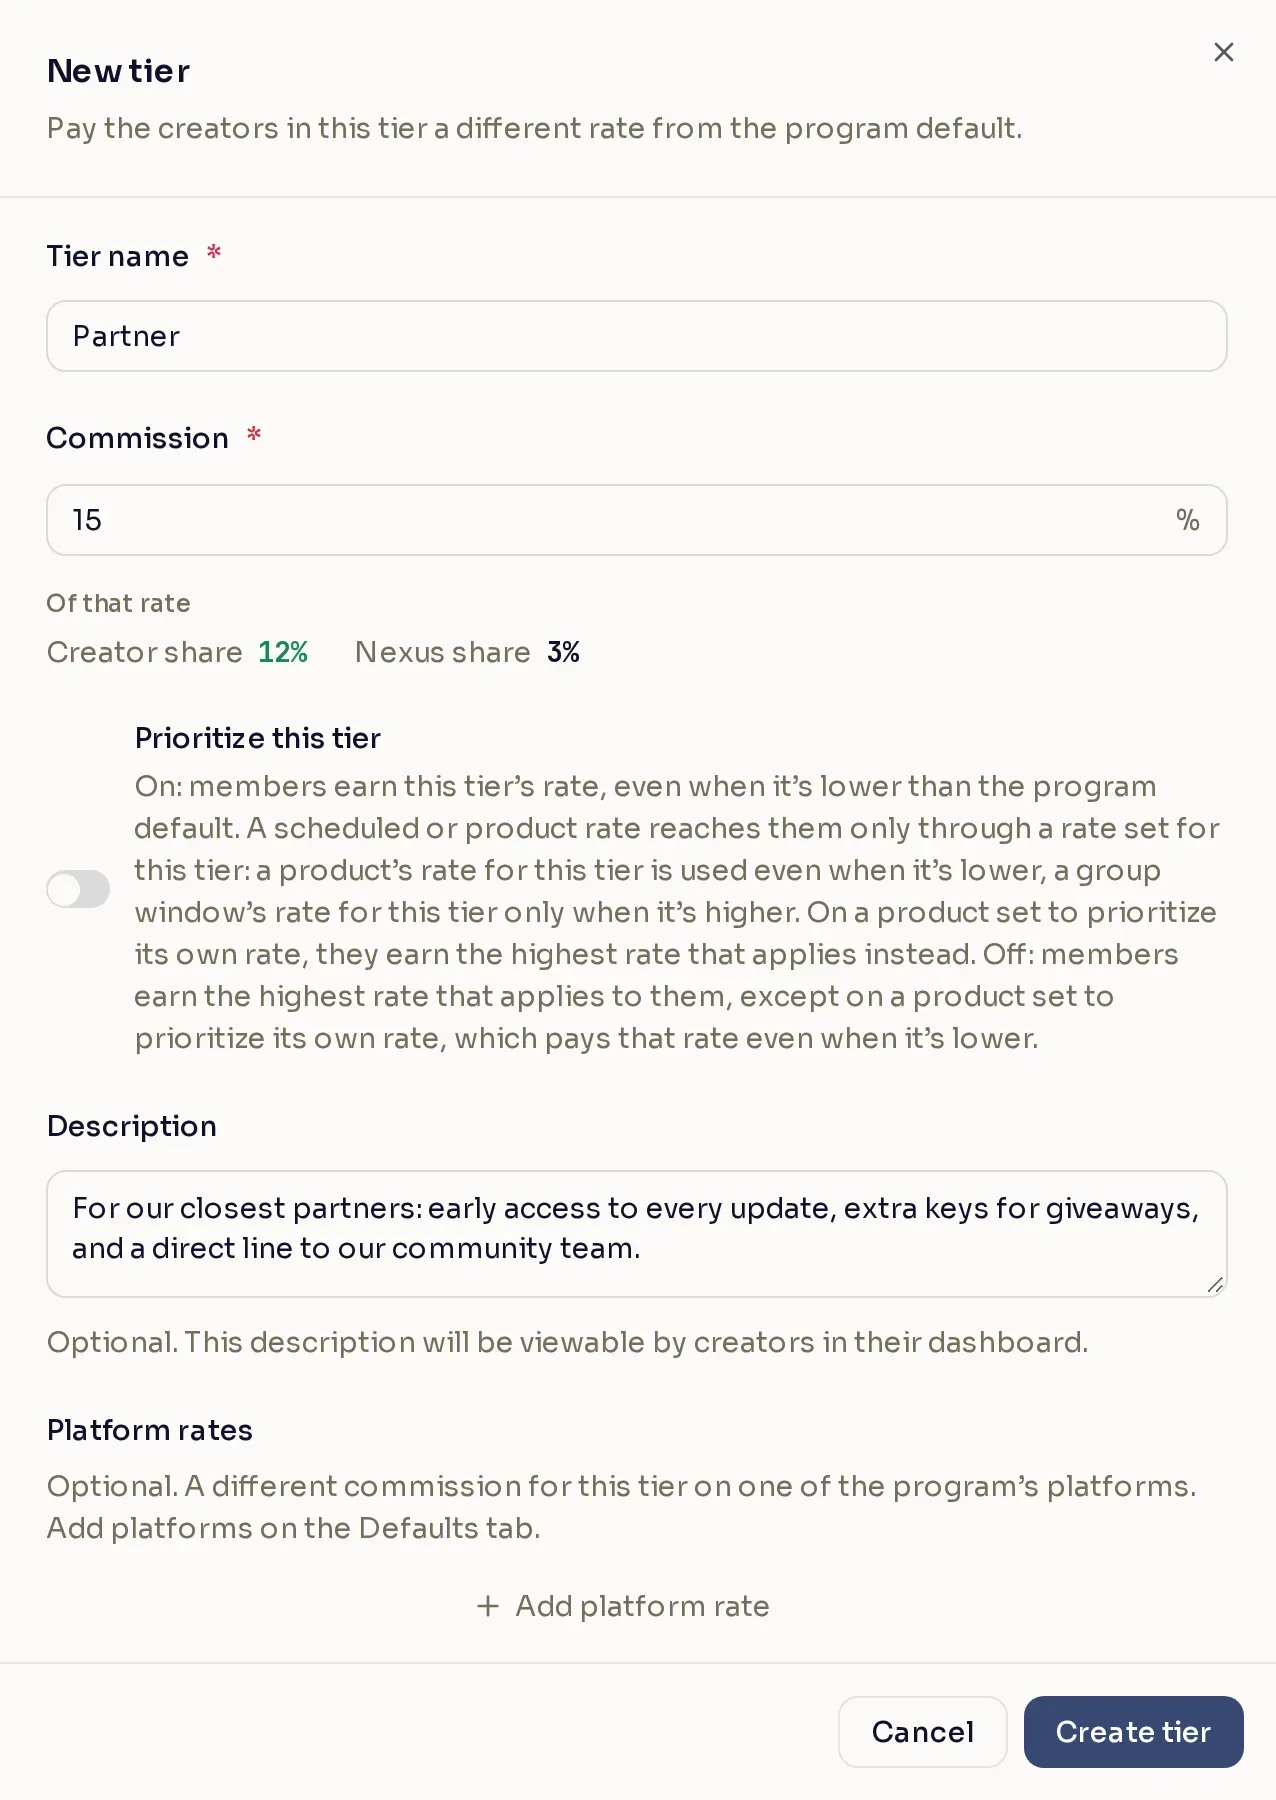
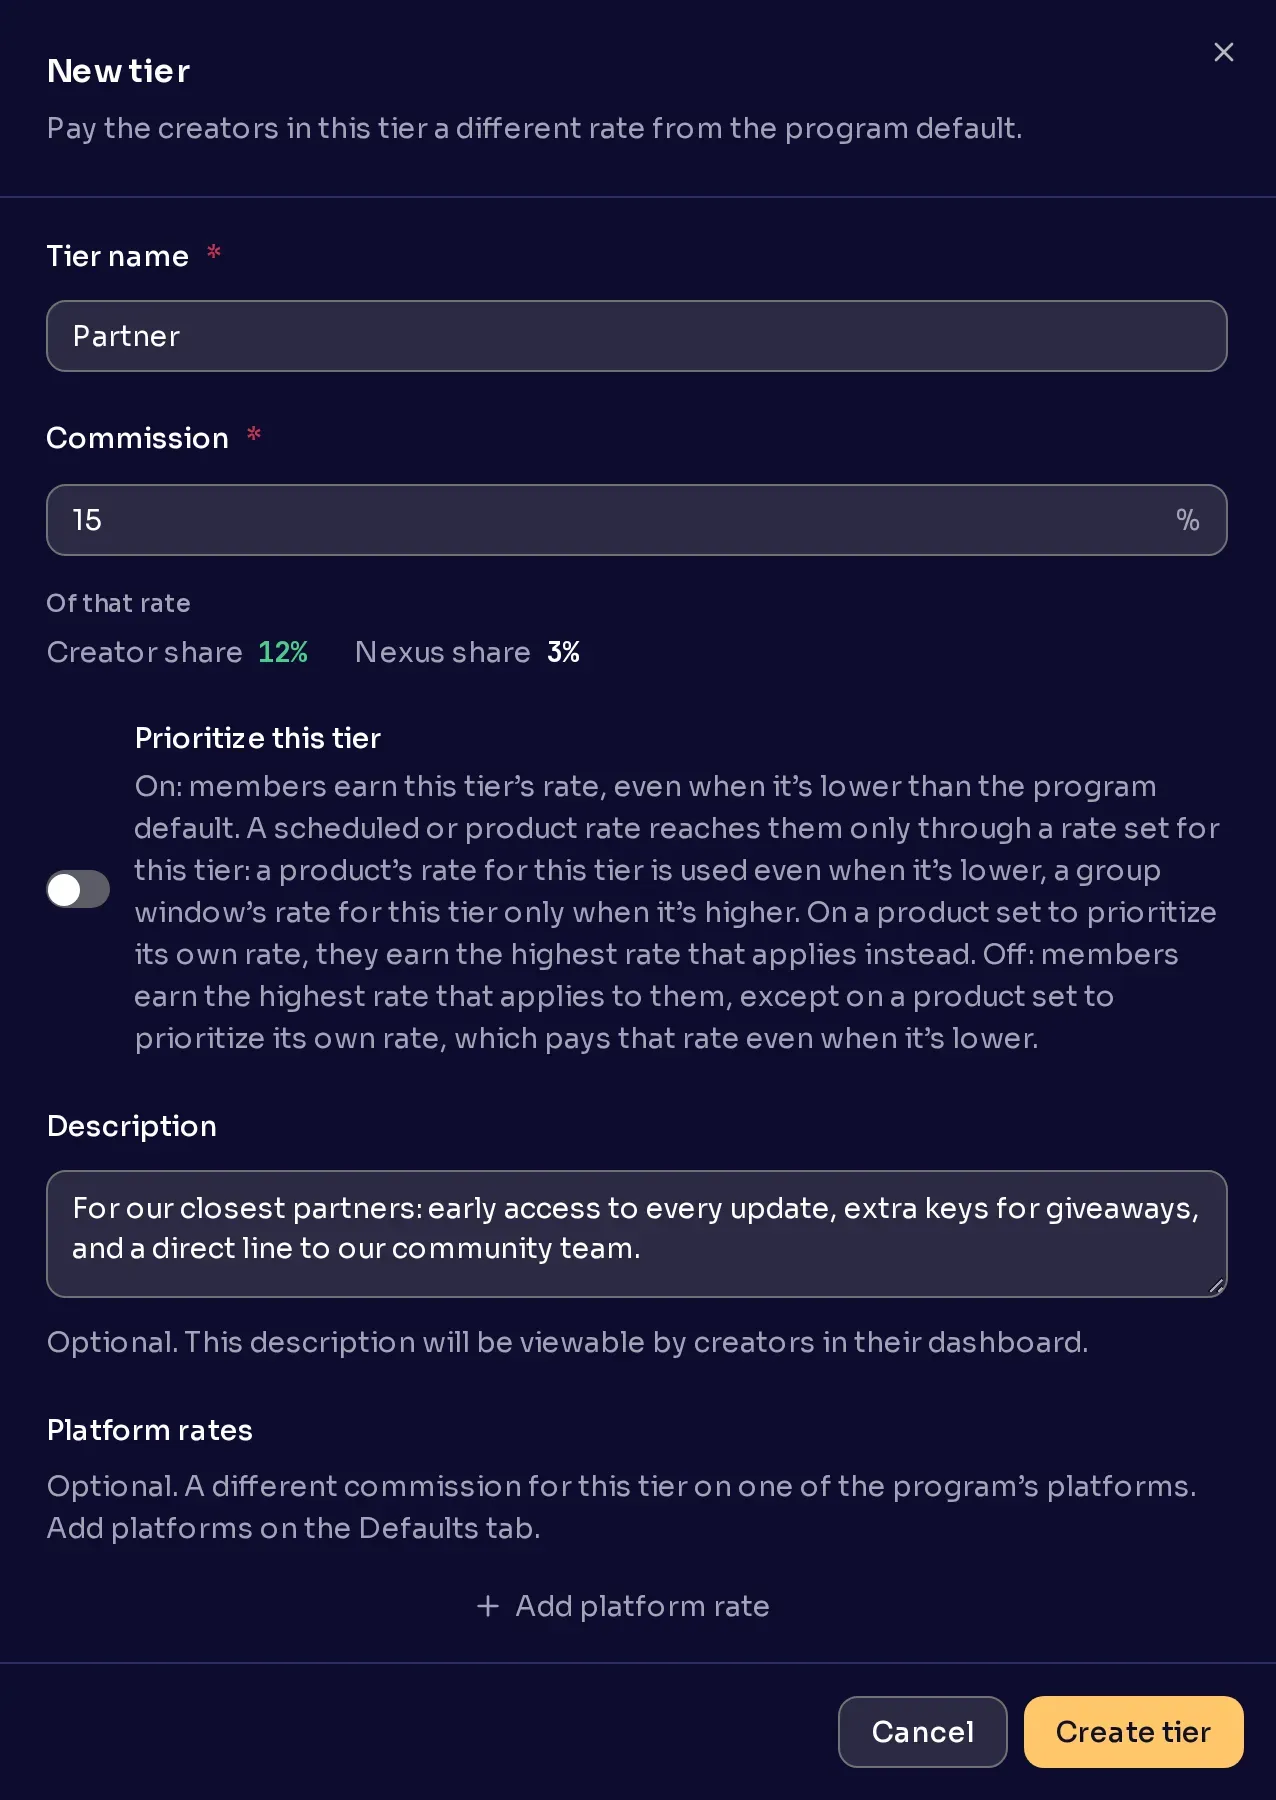
Name the tier. Select New tier and type a Tier name, such as “Partner”.
-
Enter the rate. In Commission (Revenue Share in a revenue-share program), enter the percentage for this tier.
-
Decide whether to prioritize the tier. With Prioritize this tier off, creators in the tier earn the highest rate that applies to them, unless a product is set to prioritize its own rate. That can be this tier’s rate, your program default, or a product or scheduled rate.
Turn it on when this tier’s rate should apply even when it is lower than your program default. Say your program default is 10% and a “Starter” tier is 5%: with the switch off, the 10% rate applies to Starter creators, and with it on, the 5% rate does.
With it on, these creators stop getting your program default and program-wide scheduled rates. A scheduled rate you set for this tier still applies when it is higher. On a product, a rate you set for this tier replaces the tier’s rate, even when it is lower. On a product set to prioritize its own rate, they earn the highest rate that applies.
-
Add a description (optional). Say what the tier gets, from a higher rate to perks such as keys or early access to updates. Creators see it when they hover over their tier name on their Programs page.
-
Add platform rates (optional). If you sell on more than one platform, select Add platform rate to give the tier a different rate on a platform. Platforms come from the Platform overrides card on the Defaults tab, so add them there first.
-
Save it. Select Create tier.
Add creators to a tier
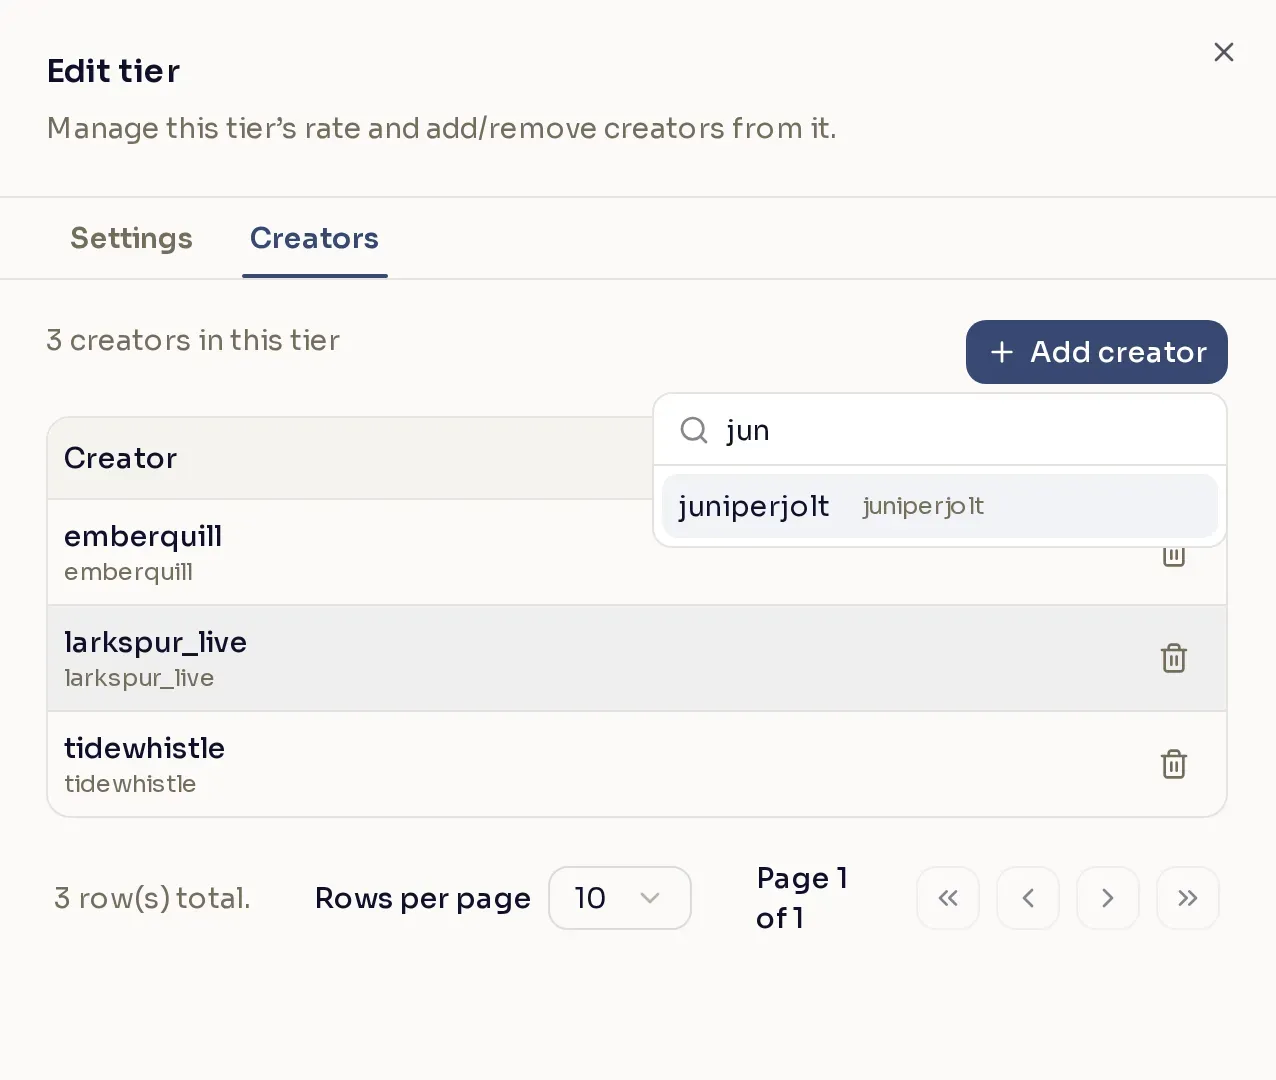
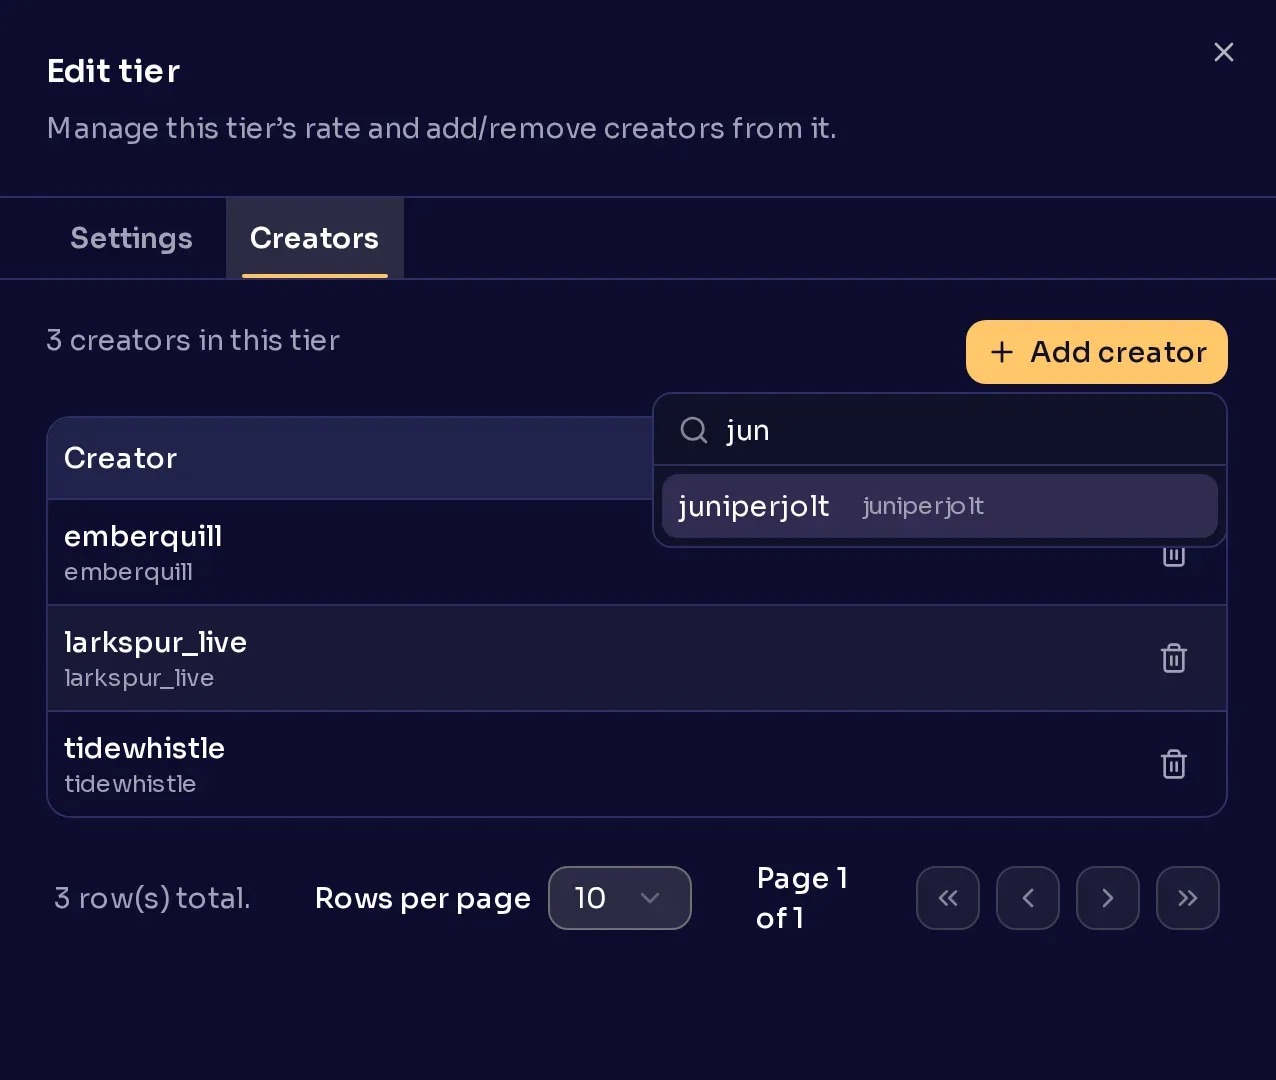
Section titled “Add creators to a tier”On the Creator tiers tab, select the pencil on the tier’s row and open the Creators tab. Select Add creator, type at least two characters of an approved creator’s name, and pick them from the results. A creator who is already in another tier moves to this one.
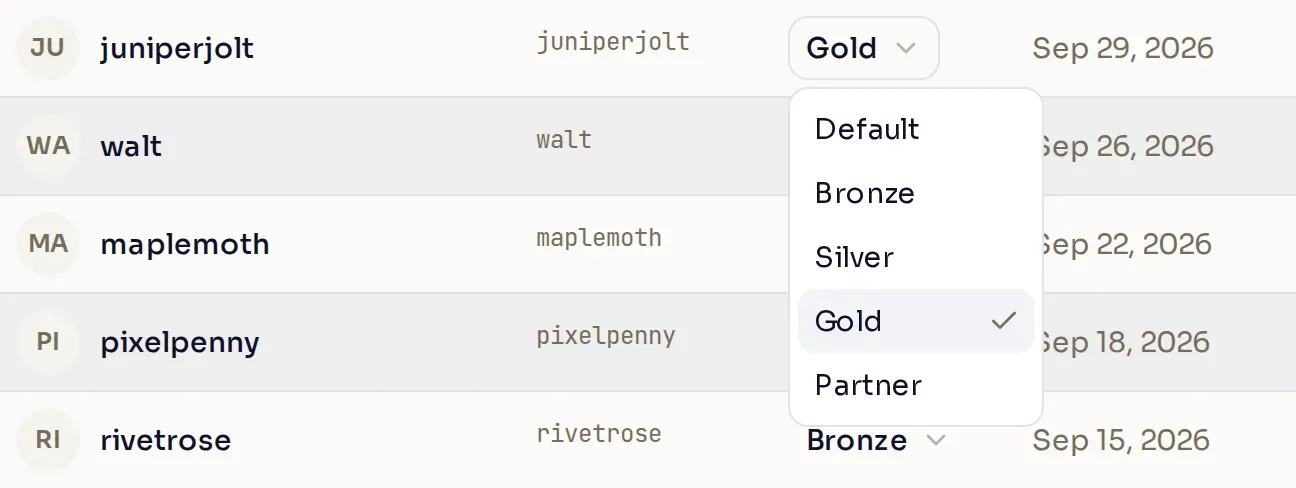
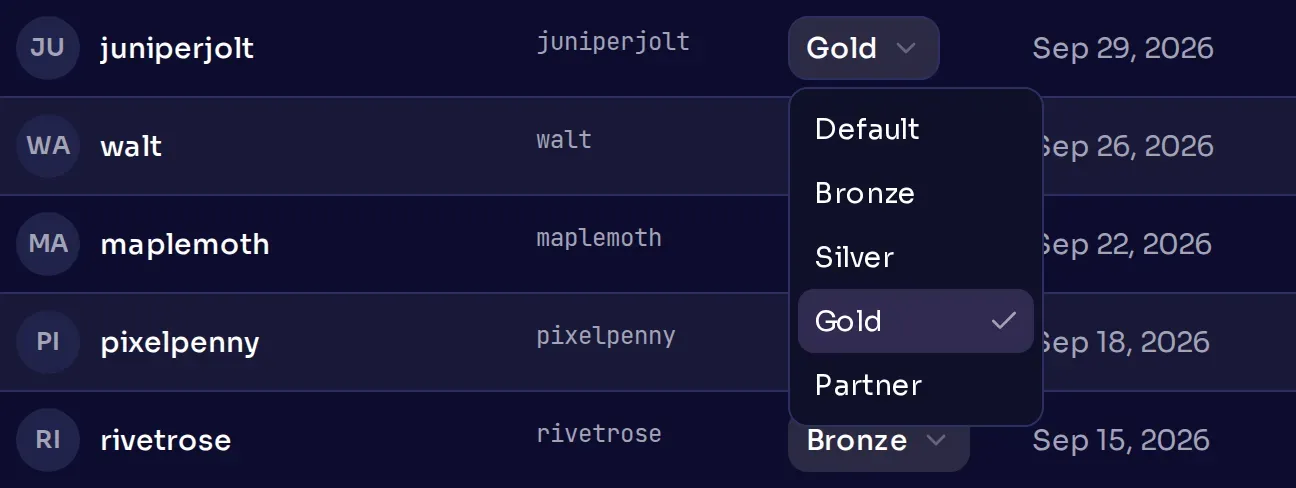
You can also set a tier from Creators. On the Approved tab, open the menu in the Tier column and pick a tier. Default means the creator is in no tier.
Creators see their tier name on their Programs page, so tell them yourself when you move them. Nexus can also place creators in a tier as it approves them, which Set platform requirements covers.
Change or delete a tier
Section titled “Change or delete a tier”To change a tier, select the pencil on its row, edit it, and select Save tier. A new rate applies to new sales, and sales already recorded keep the rate they earned.
Before you delete a tier that has platform rates, edit it, remove each platform rate, and select Save tier. Then select the trash can on the tier’s row, and Delete. Its creators move to no tier, and you cannot undo this. Tags, campaigns, and platform requirements that used the tier no longer reach anyone through it.
Next steps
Section titled “Next steps”Tiers also let you choose who gets keys, who can join a campaign, and who gets a tag.