Growing your program starts with getting the right creators in. Creators apply through your invite links, including the join button on your program’s landing page, and you can also add a creator you already know.
Prefer to watch? Here is the tutorial video.
Before you start
Section titled “Before you start”To review applications and add creators, you need the Admin or Creator Manager role for the program. Only publisher-wide Admins see invite links.
Review applications
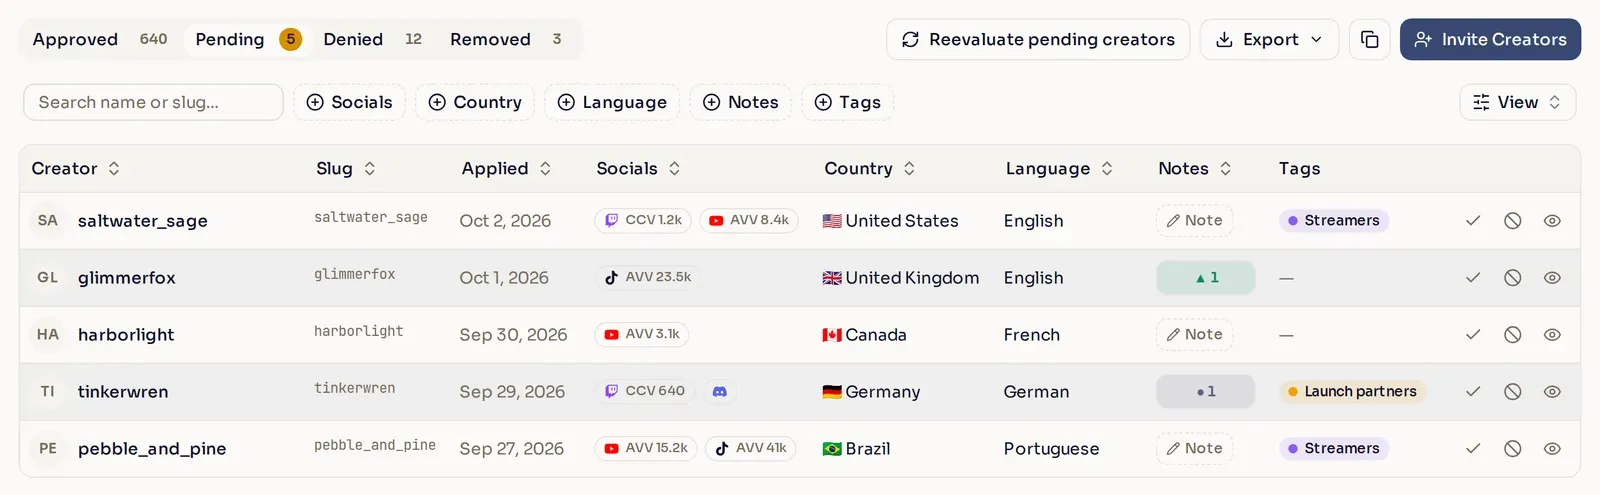
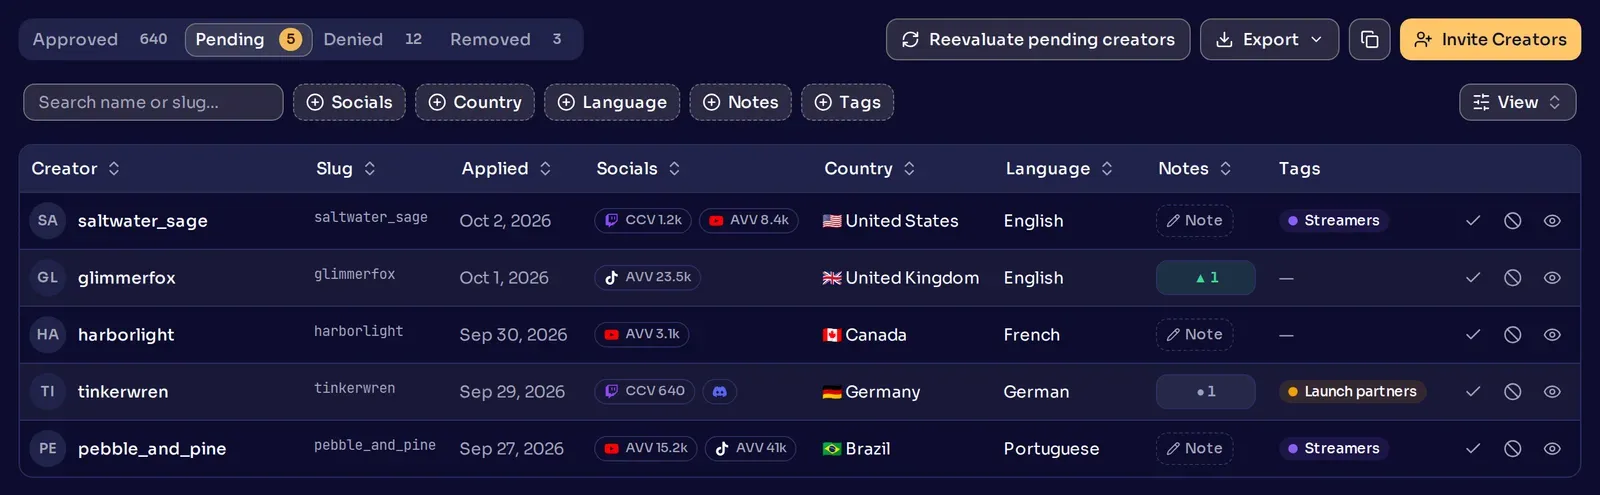
Section titled “Review applications”In Creators, select the Pending tab. It lists the creators waiting for your decision, newest application first.
-
Check the creator. To see their full profile, select the eye at the end of the row.
-
Approve or deny them. Select the check mark to approve the creator. They move to the Approved tab, and Nexus emails them.
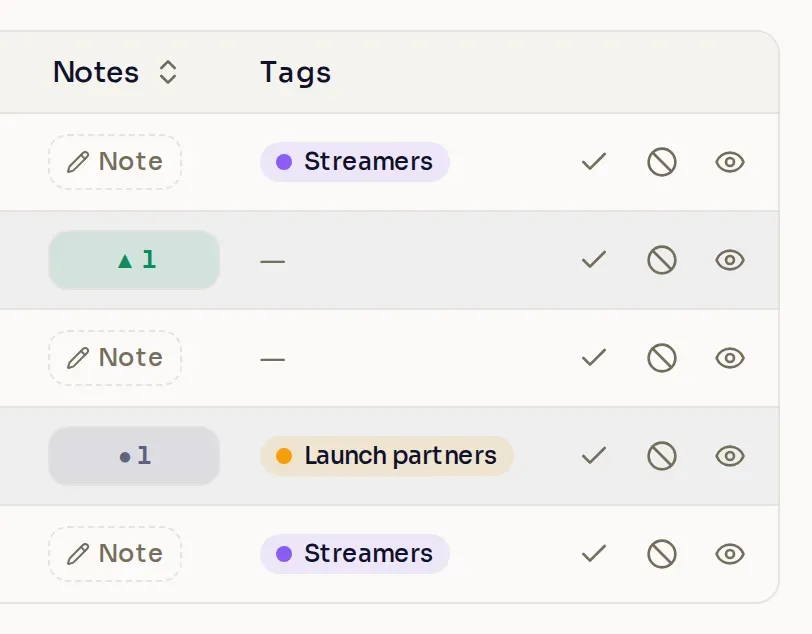
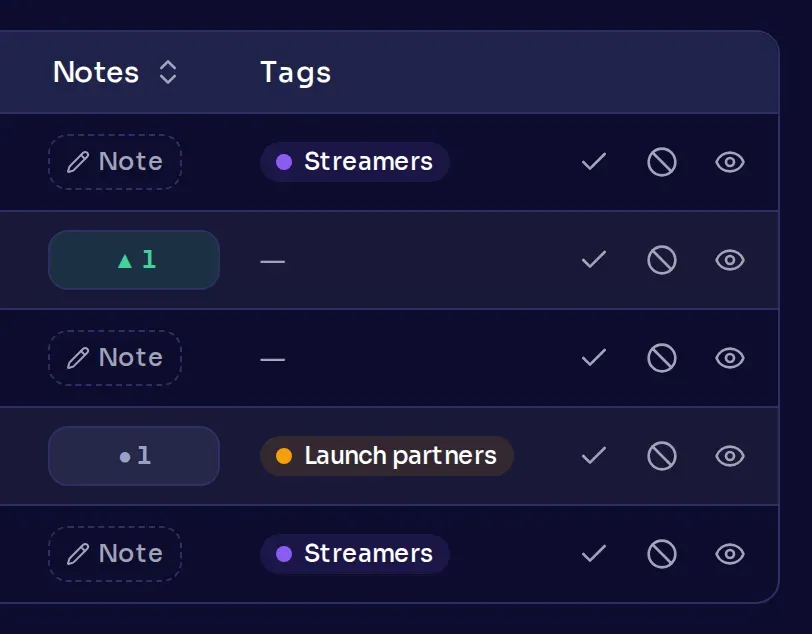
To deny a creator, select the circle with a slash, then Deny. They move to the Denied tab, and Nexus emails them. Your program’s Rejected creator cooldown sets how soon they can apply again.
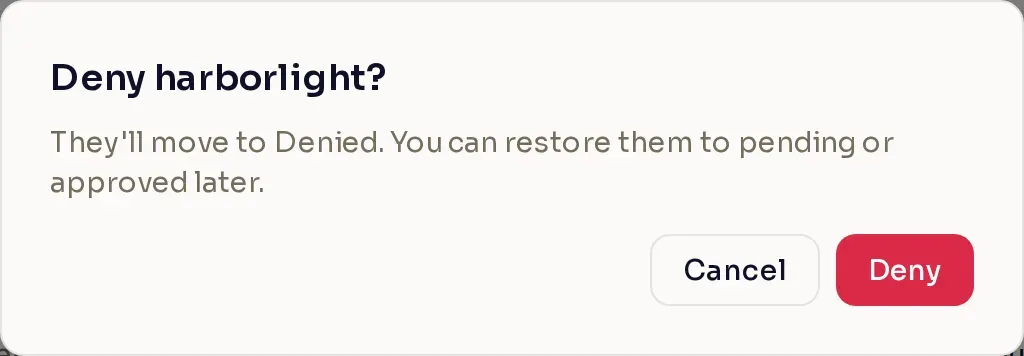
To undo a denial, open the Denied tab, select Move on the creator’s row, then Move to approved or Move to pending.
Add a creator directly
Section titled “Add a creator directly”When you already know a creator, you can bring them in without an application. Select Invite Creators, and under Add a creator, type their creator code in the box after nexus.gg/. Select Add. They join on the Approved tab right away, and Nexus emails them.
Invite creators with a link
Section titled “Invite creators with a link”Your links are under Invite Creators > Invite links. Creators without a Nexus account sign up through the link.
Each link has an Auto-accept applications switch, off at first. With it on, creators who join through that link are approved without the automatic review. They still give what your application form asks for. Denied or removed creators still wait out their cooldown, and an application with a social account another applicant already connected is still denied.
Your Permalink
Section titled “Your Permalink”Your Permalink is your program’s standing invite link. If your program is open to anyone, put it where creators look for you, such as your website or social bios. If you choose who joins, share it only with the creators you want to apply. To copy it, select the copy icon beside it.
Renaming your program changes the Permalink, and the old link stops working, so settle the name before you share it. Unless your landing page asks visitors for an invite code, its join button uses the Permalink too, so the Permalink’s Auto-accept applications switch covers everyone who applies there.
Rotating links
Section titled “Rotating links”A rotating link is for one group or occasion, such as the creators you meet at a launch event.
-
Add the link. Select Add invite link. It appears as Unnamed link. To name it, select the pencil, type a name such as “Launch event 2026”, and press Enter.
-
Choose a tag (optional). Under Tag on join, pick a tag, such as “Launch event”. Nexus tags creators as they join through the link, even while they wait on Pending. To use a new tag, create it on the Tags page first.
-
Turn on Auto-accept applications (optional). Do this only for a link you give to creators you have already vetted.
-
Copy and share it. Select the copy icon beside the link’s URL.
If the link reaches people you did not mean it for, select Generate new code. The old URL stops working right away, so send the new one to anyone who still needs it.
When you are done with a link, select Remove, then Remove again to confirm. Creators who joined through it stay in your program. A program always keeps one rotating link, so add another before you remove your last one.
Next steps
Section titled “Next steps”On the Approved tab, set each new creator’s tier in the Tier column. Set platform requirements covers tiers, and you can keep notes on what your team learns about each creator.